Wednesday, August 31, 2011

Strawberry and Butternut Cookies Parfait


August has gone fast and spring is coming!  I've just got in time to post this parfait recipe to ANU's August Event - Berries - Strawberry Dessert.  Strawberry is not only a tasty fruit with lovely colour, it also has lots of health benefits such as high in anti-oxidents, regulate blood sugar level and cleansing skin.  However you need to consume 3-4 times a week to get the benefit.  For more information on strawberry, please click here.  This is a simple and fast dessert, hope you enjoy it!


Strawberry and Butternut Cookies Parfait
(serve 4)

500g strawberries, hulled, halved
1/4 cup icing sugar
250g mascarpone cheese
200g low-fat plain yoghurt
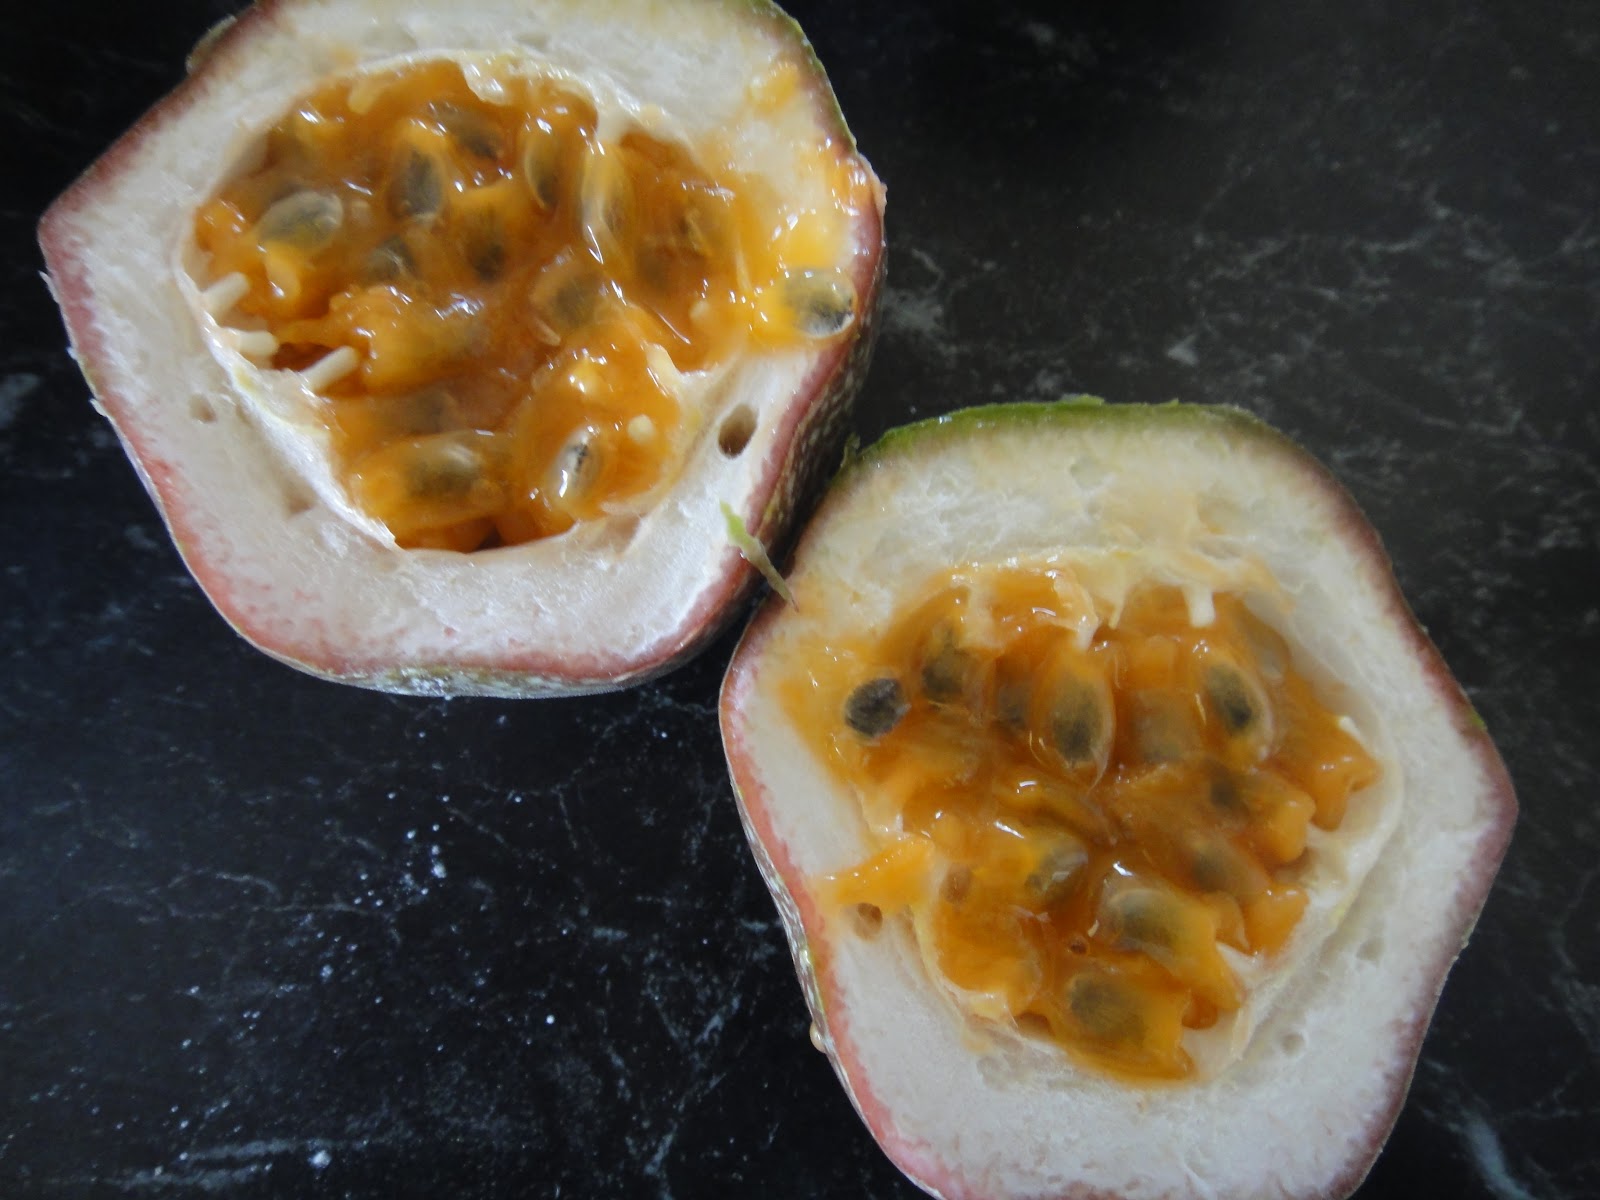
1 passionfruit (optional)
butternut snap cookies
mint leaves (for garnishing)

Method:

  1. Combine mascarpone, yoghurt, icing sugar and passionfruit pulp in a bowl and mix well.
  2. Place strawberries into the glass, then top with a layer of cheese-yohurt mixture.  Break some cookies over it.  Repeat layers and ended with strawberries on top and garnish with mint.
  3. You can serve straight away if you like it crispy or let it in the fridge for an hour for soften, honeycomb texture.  
Source: adopted and modified from Super Food Ideas September 2007 Issue 85


Tuesday, August 30, 2011

Coconut and Walnuts Slice


This coconut and walnuts slice is my family's new favourite besides the nutella brownie.  I like coconut slice as it is similar to the coconut tart we have in Hong Kong.  I have been making it using desiccated coconut and it always please my family.  That's changed when Maryanne comes to visit me and brings along her coconut slice made with shredded coconut with walnuts.  My son says that I have to get the recipe from her and my husband just keep saying how nice it tastes.  I find this recipe from the cooking magazine and modify it a little to make it quite close to Maryanne's.

I have knitted a baby jumper and two kids hats for the Guardian Angel Knitting Program.  They give me a pin as a thank you gift.  My hats aren't as good as it's shown in the knitting book, hopefully my knitting skill will improve and I'll knit better hats next year for the program.  I think I've done good to keep the needed kids warm and that's good enough.


Coconut and Walnuts Slice

100g butter, soften
3/4 cup caster sugar
3 eggs
3/4 cup plain flour
1/2 cup self-raising flour
1/3 cup milk
1/2 cup raspberry jam
1/2 cup chopped walnuts
1 cup desiccated coconut
3/4 cup shredded coconut


  1. Preheat oven to 180c.  Line a 20cmx30cm lamington pan with baking paper.
  2. Beat butter, 1/2 cup sugar until light and fluffy.  Add 1 egg, sifted flour and milk and mix until well combined.  Press mixture over base of the pan.  Spread jam over mixture.
  3. Whisk the remaining egg and sugar in a bowl.  Stir in desiccated coconut.  Spread the coconut mix over the jam.  Then sprinkle walnuts and shredded coconut over the top.
  4. Bake for 35-40 minutes or until light golden.
Source: adopted and modified from Super Food Ideas April 2011 Issue 124


Monday, August 29, 2011

Raspberry Yoghurt Muffins and Raspberry Coconut Bread


I have just received a comment from a reader about cooking with my recipe of Baked Portuguese Chicken and Rice (Part 1).  This is the first time someone who have tried my recipe and give me a feedback.  Wow, I'm a bit over the moon!  I would love to hear more from you or you can take a picture of the dish so I can post it for sharing.  

These two recipes consist of the two ingredients that I don't used a lot in my baking: yoghurt and coconut cream.  I like both ingredients but I usually have yoghurt with fruit & muesli and use coconut cream in making curry or Asian dessert.  By putting yoghurt or coconut into baking gives the cake the moist and tangy flavour which is nice to have especially when the cake is nice and warm. 

Does anyone from blogger know that if I edit the post and republish it again, would it keeps reposting to my followers' dashboard?  I just have to change a little of grammar mistake every now and then after posting and I hope I haven't over posting at your wall. 

Raspberry Yoghurt Muffins

1 1/2 cup self-raising flour
1/3 cup rolled oats
3 eggs
3/4 cup brown sugar
3/4 cup natural yoghurt
1/3 cup melted butter 
180g frozen raspberries
almond flakes
extra sugar

Preheat oven to 200c.  Combine sifted flour with oats, stir in eggs, sugar, yoghurt and melted butter.  Don't over mix.  Gently stir in raspberries.  Spoon mixture into muffin tin, sprinkle with extra sugar and topped with almond flakes.  Bake 20 minutes.

Source: adopted and modified from Australian Women's Weekly - Mix- cakes, muffins, biscuits + pudding


Raspberry Coconut Bread


1 3/4 cup self raising flour
2/3 cup brown sugar
1/2 cup coconut cream
50g melted butter
1/4 cup plain flour
2 eggs, whisked
100g frozen raspberries

Preheat oven to 180c.  Grease and line loaf pan with baking paper.  Sift flour into the mixing bowl, add sugar, eggs, coconut cream, butter and then raspberries.  Pour the mixture into the tin and bake for 45 minutes or until cooked.  Cover the cake with foil to prevent over burning if needed.  It is best to consume the cake within 2 days as it gets dry quickly.  The original recipe uses mashed bananas but I have omit that as banana is still quite expensive after the Queensland flood.

Source:  adopted and modified from the cut-up from supermarket sales catalogue

Thursday, August 25, 2011

Cinnamon Rolls and Ham & Cheese Scrolls


I haven't made cinnamon rolls for a long time as the recipe I have is just "OK".  When I made some of them for my daughter's piano concert a few years ago, I had bad comment from my in-law.  (I"m used to that!)  This time I got good feedback and use the same method to make a savoury one as well.  The problem with day old bread is that it always turns hard and dry.  It's only the tangzhong method which is popular around the Chinese blogger makes soft bread that last longer.  Thanks to Jessica from kitchenbelleicious of her recipe that the cinnamon rolls are superb.  It is still soft the next day which is great for me to bake on Sunday and pack for lunch on Monday for the kids.  And it freezes well, so what do you say?  This is a great recipe that you should try, whether you have sweet tooth or not!  I only use 1/2 amount of Jessica's method as my breadmaker won't fit all and add some pecan into it (based on my old recipe) with less icing.  Go and pour heaps if you like it sweet to make you happy though.  The result of the ham & cheese scroll is liked the bread from Asian bakery which is a little sweet.  The texture is liked the bread from the tangzhong method.  You can cut down the sugar if you don't like it sweet for the scroll.  May be it is the baking powder and bicarbonate of soda doing the magic but I'm sure that the glorious butter plays an important part to the good result.  My son gives some of the bread to his friend at school and he asks which bakery does he got it.  He then tell him it's homemade and his friend reckons I should have a bakery.  How nice is that ! Hahaha! 

Cinnamon Rolls (Breadmaker Method)


2 cups milk
1/2 cup vegetable oil
1/2 cup sugar
4 cups baker's flour (I use Defiance)
8g instant yeast
1/2 tablespoon salt
1/2 teaspoon baking powder
1/2 teaspoon bicarbonate of soda
1/2 cup extra baker's flour

For the filling:
6 tablespoons brown sugar
6 tablespoons melted butter
1 cup chopped pecan nuts

For the vanilla cream glaze:
1.2 cup icing sugar
1/2 teaspoon vanilla essence
2 tablespoons milk

Method:

  1. Put wet ingredients followed by dry ingredients except baking powder and bicarbonate of soda into the breadmaker with the yeast last.  i.e. milk, oil, sugar, salt, flour and yeast.  Press to "dough" and let the breadmaker does the job for you.
  2. When the dough is ready, add the extra flour, baking powder and bicarbonate of soda and knead until smooth.  Roll it into thin rectangular layer and pour melted butter ( leave 1 tablespoon for later) and spread cinnamon sugar and nuts around the layer.
  3. Roll it towards yourself and cut into 3/4 to an inch rolls.  Pour 1 tablespoon melted butter over the base of grease lined pan and lay rolls onto the pan.  Let it rest in a warm place for 30 minutes.
  4. Bake in moderate oven for 15-18 minutes.  Drizzle vanilla icing over hot bread.  You can add more glaze if you like it sweet.


Ham & Cheese Scrolls


Same method as for the cinnamon rolls, just omit the brown sugar, nuts, cinnamon and the vanilla glaze.  Add melted butter, pizza sauce over the base, then add the fillings before roll up.

For the fillings:
Ham and shredded cheese ( I would add some onion and pineapple next time to give a ham and pineapple pizza kind of taste)


Tuesday, August 23, 2011

Buttermilk Scones with Strawberries & Cream


We had a rainy Sunday and I felt like having scones.  I like cream scones so I usually use cream instead of milk for the recipe.  I never have full confidence in making scone as it never come out perfect as I could wish for.  I have mastered the taste using cream but the texture is a problem.  It could be too dry, undercooked or don't have the little split in the middle.  My day old scone becomes dry and hard that it could nearly knock someone's head down if they got hit.  The best scone I've ever had is from the country bakery near our town.  It has the creamy taste and soft texture that is perfect to make for Devonshire Tea.  I find this recipe using buttermilk and it's worth a try as buttermilk is low-fat and it makes fluffy pancake, that could possibly make creamy and soft scones, too.  I also has the problem using scone cutter as it makes large scone that takes longer time to cook making the scone dried.  Therefore, I am cutting them into smaller size by hand.  Even the scones have no split in the middle as the perfect scone, it is creamy and soft inside.  I have one this morning and it is still soft that I doesn't need to heat up in the microwave.  I don't feel too much guilt by putting lots of cream over it as it's made with buttermilk.  When I look at the fat content of the clotted cream selling at the supermarket and it's about 50% per 100g, not as bad as butter but I think I'll stick to whipped cream for my Devonshire Tea.

I gave some to Mum and she said she liked it so my scone making must be improving.  If you know how to make perfect scone with the split in the middle, please let me know.  Thank You!
      
Buttermilk Scones with Strawberries & Cream


3 cups self-raising flour
2 tablespoons caster sugar
40g butter
2 cups buttermilk
extra buttermilk for brushing
whipped cream
strawberry jam & fresh strawberries


  1. Preheat oven to 220C.  Line the lamington pan with baking paper.
  2. Rub butter with the flour with finger tips until resemble fine crumb.  Mix well in centre and add buttermilk.  
  3. Use a knife to cut the buttermilk through the flour to mix a soft, sticky dough.  Knead dough gently on floured surface.  Roll dough out to 2.5cm thickness.  Cut into 12 and place them close to each other in the pan.  Brush top with extra milk. ( I have 9 in one pan and 3 in a small pan)
  4. Bake 20 minutes or until it sounds hollow when tap over the top.  Serve scone with jam, strawberries and cream.
Source: adopted and modified from Australian Women's Weekly - Mix -Cakes, Muffins, Biscuits + Pudding


Friday, August 19, 2011

Orange Syrup Cake and Homemade Marmalade


Every time when I saw the juicy orange and mandarin hanging from the tree at the piano teacher's yard, I told myself that I had to plant some in my garden.  This has been going on for six years ( now my daughter is in her 7th grade in piano) and I still haven't done it yet!  This year, the piano teacher gives me some of her precious fruit.  My first thought is to make them into marmalade as the fruit is so natural without wax on the skin.  I have been making jam using the breadmaker as I don't like hot jam spatting at me.  In my first attempt, I follow the recipe to chop every bits of the orange, it comes out too chunky and too tangy.  I blend it to smooth up a little bit but it is still too tangy to spread for toast.  In my second attempt, I grate the zest and cut up the flesh but it comes out too runny.  So I add two tablespoons of the first marmalade into the second one and let it boils for a bit to thicken.  Wow, that's is the best marmalade I've ever tasted!  I make three bottles, one to keep for myself, one for my Mum and one for the piano teacher.  Next time I'll blend one whole orange and zest two oranges to see if that work!

I don't like to waste food so I use the left over from the first marmalade to bake an orange syrup cake.  The recipe calls for blending the whole orange so I just cut down the sugar to balance the flavour.  I also give some of the cake to the teacher's husband as he is just so nice and sweet to give me more oranges.  And yes, I really need to go the nursery to get some fruit trees so I can keep making marmalade!  Have a good weekend!

Orange & mandarin on the left are from the market and the ones in the basket are homegrown 

I took this photo the other day when the sky is so clear without cloud.   The blue sky is so pretty!

Orange Syrup Cake


Ingredients:
1 Navel orange
125g butter
1/2 cup caster sugar
2 eggs
1 1/2 cups wholemeal self-raising flour
1/2 teaspoon bicarbonate of soda
1/2 cup buttermilk

Orange Butter Syrup
1/2 cup sugar
1/4 cup orange juice
60g butter

Method:

  1. Squeeze the juice from the orange, reserve 1/4 for the syrup.  Blend remaining skin and pulp finely.
  2. Cream butter and sugar until light and fluffy.  Add eggs and then flour, bicarb of soda, buttermilk and orange pulp until well combined.
  3. Pour mixture into a grease lined 20cm round pan and bake it for 30 minute in a moderate oven.
  4. For the syrup: Combine sugar, orange juice and butter in a small saucepan, stir constantly over heat until sugar dissolved and bring it to the boil.  Pour syrup over hot cake. 
Source: Australian Women's Weekly - Home Library "Cakes & Slices" Cookbook

Monday, August 15, 2011

Focaccia Bread


Have you ever hug and kiss your kitchen appliances?  My kids laugh at me when they see me hugging and kissing my breadmaker.  It has done such a wonderful things in making bread, pizza dough, pasta and even jam for me.  It never let me down unless the recipe is a bad one.  Over the weekend, I made my first focaccia bread and pasta and that was a delicious "homemade" dinner.  Kids asked me what would I do if the breadmaker broke, I would certainly cry but luckily I have a spare.  When my husband bought me the Kenwood Chef, it gave me a new breadmaker as a bonus gift.  How nice is that!

Focaccia Bread (Breadmaker method)


Ingredients:
4 cups baker's flour (I use Defiance)
1 1/2 teaspoon salt
8g instand dry yeast
2 teaspoons olive oil
1 1/4 lukewarm water
1 teaspoon mixed dried oregano and basil
1/2 teaspoon minced garlic


Topping:

  1. olive oil, salt, cheese, garlic, dried oregano and basil
  2. olive oil, salt, garlic, cherry tomato, fresh rosemary 


Method:

  1. Pour the liquid ingredients into the breadmaker: i.e. water and oil.
  2. Then followed by the dry ingredients with the yeast last, i.e. salt, garlic, herb, flour and yeast.
  3. Press the select button to "dough"
  4. When the dough is done, take it onto the floured bench or place a piece of baking paper onto the bench.  Sprinkle the dough with some flour and roll it into rectangular shape that fitted into the baking tray or small round shape of your choice.  (I make one large rectangular and a small square)
  5. Dimple the surface of the dough with your fingertips.  Leave the dough in a warm place for 15 minutes. ( I leave it in a pre-warmed oven)
  6. Lightly brush the dough with olive oil, sprinkle with salt, herbs, garlic, cheese, halved tomatoes of your choice.
  7. Bake at 210c for 15-20 minutes or until the bread is cooked through.  My dough is a bit thick, I actually bake it about 30 minutes.
  8. You can cut the bread in half, butter it.  Put it under the grill for grilled toast or bruschetta bread.


Thursday, August 11, 2011

Strawberry and Pecan Salad


When I think of strawberry, I always associate it to something sweet such as pancake, tart or shortcake.  Then I saw other bloggers making strawberry salad.  So I thought if you can put tomato into salad, strawberry should work as good as that!  I like this salad as it has the crisp of the lettuce, sweet and sour from the strawberry and tomato and the crunch from the pecan.  It is a good accompany to my seafood quiche.  

Strawberry and Pecan Salad

Ingredients:
strawberry
cherry tomato
lettuce
baby spinach leaves
cucumber
pecan nuts
apple cider vinegar
balsamic glaze

Method:
Wash and sliced the vegetables and fruit, chopped the pecan nuts.  Pour in the apple cider vinegar and then some balsamic glaze over the salad.  

Seafood Quiche


Saturday, August 6, 2011

Passionfruit Coconut Cake


I had never seen or eaten passionfruit until I came to live in Australia.  The first time I had passionfruit I didn't really like it as I didn't like chewing the seeds.  Then my school mate told me to swallow it without chewing it.  I was a bit hesitated as my grandmother told me when I was a kid that the seed would grow into a tree in my tummy if I swallowed it.  One time, I was so worry that I couldn't sleep when I accidentally swallowed some apple seeds.  That was a bit of a nightmare!  Anyway, the seed of passionfruit is eatable and it is a good source of fibre.   I start to fall in love with this fruit as the tangy sweetness and aromatic of the pulp is unbelievable good.  It always make me feel good and relax similar to the feeling of eating chocolate.  I enjoy eating the fruit, using it for icing, juicing, topping for pavlova and pouring it onto ice-cream.....mmmm, yum!

Passionfruit is now available in many countries.  If you still haven't tried it, you should go and try one now!  For more information about passionfruit, please click here

This cake is an easy and simple cake that anyone can do it.  I like its tropical taste with coconut.


Passionfruit Coconut Cake
(make 16 slices)

Ingredients:
125g butter, melted
1/3 cup honey
1 cup milk
2 eggs, beaten
2 cups self-raising flour
1/2 cup desiccated coconut
1/4 cup caster sugar
2 passionfruit

For the icing:
25g butter, soften at room temperature
1 1/2 icing sugar
2 passionfruit

Method:

  1. Preheat oven to 180c.  Line a 20cmx30cm lamington pan with baking paper.
  2. Melt butter and honey in a saucepan, leave cool.
  3. Add milk, eggs, sifted flour, coconut, sugar and passionfruit pulp into the butter mixture until well combined. (don't over mix)
  4. Spread the mixture into prepared pan and bake for 20-25 minutes.  Cool cake in pan.
  5. Combine butter and sifted icing sugar in a bowl.  Add in passionfruit pulp until the mixture is spreadable.  Spread icing to cooled cake.  Cut cake into small pieces when the icing is set.
Source: Super Food Ideas, Nov 08 Issue 98

Thursday, August 4, 2011

Tips for pastry making


I have to admit that I only use ready-made pastry to make pie and tarts.  I alway find that making shortcrust pastry is too hard and time consuming.  I don't even dare to dream of making my own puff pastry.  Then things change when my mother-in-law spent Christmas with us last year and I saw her making a homemade turkey pie from step-by-step.  Once when you have tried making your own pastry, you could get addicted to it and it is such a satisfying and rewarding experience.  It tastes better and it costs less too!

I'm still a new learner from pastry making but I'd like to share some pastry making tips from my readings from cookbooks for future references.

Choosing equipment and utensils

  1. A food processor is a must if you have hot hands as it mixes fat and flour evenly.  Make sure using "pulse"motion when adding liquids so that the dough will not be overworked and become tough.
  2. Good solid baking sheets that won't buckle in the oven is important.  When choosing tart tins with removable bases, the heavier the better as the pastry will cook more evenly.  China and glass dishes give the dreaded soggy bottom.
  3. Traditionally, fluted edges designated for sweet fillings and plain edges for savoury filling. 
  4. A pie plates with a wide rim make a good crust for decorative edges.
  5. There are varies pans such as tarte tatin pan, springform tins, patty tins, tarlet tins, mini muffin tins and Yorkshire pudding tins for special baking needs.  It's good to collect some of those in the pantry.
  6. A marble slab to keep the pastry cool to work with if you need one.
  7. Ceramic pie weights or dried beans, rice and pasta are needed for baking blind.
Tips for pastry making
  1. The utensils and ingredients should be cold.  The butter should be hard and cut into medium sized cubes to blend with the flour in the processor until the mixture resembles coarse breadcrumbs.  
  2. If mixing by hands, use only your finger tips and handle quickly and lightly to trap as much air as possible by lifting your hands high above the bowl and let the mixture fall back into the bowl through your finger tips.
  3. Keep pastry board and rolling pin lightly dusted with flour to prevent sticking.  Brush off excess flour as too much flour is used making the pastry hard.
  4. Water used in mixing must be very cold.  Pastry should be moist enough to handle without sticking to the hands.  
  5. Roll pastry from centre outwards giving dough a half turn each time.  Never roll dough back and forth as this stretches pastry.
  6. Rolling pastry directly on a piece of non-stick baking paper or cling wrap will help to prevent sticking.  If the pastry becomes soft, wrap in baking paper and place in the fridge before rolling out.
  7. Use a sharp knife to trim pastry to get a clean edge.  Don't roll it too thin if you're beginner, just cook it a bit longer when you bake it blind.
  8. There is no need to grease a tin before lining as there is sufficient fat in the pastry.  You can sprinkle some flour at the base of the pan.
  9. To prevent pastry becoming soggy, brush bottom of pie case with egg white before baking.  You can scatter some bread or cake crumbs over the base to absorb some moisture from the filling.  Filling should be cooled before putting into the pan.
  10. Baking blind means to partially or fully bake a pastry shell before filling with a mixture to prevent soggy bottom.  Line pastry with baking paper, weighted down with pie weight or dried beans to prevent it rising during cooking.
  11. Pastry needs a hot oven so always have your oven pre-heated.  The contract between cold pastry and the hot oven causes air trapped in the dough to expand quickly, giving a crisp, light pastry.  Do not open the oven door at least after 5 minutes the pastry has been put in.
  12. Use beaten egg yolk for glazing any savoury pastry and brush egg white and sprinkle sugar on top for sweet pastry.
  13. If in doubt, chill the pastry as it helps to make crispy pastry.
  14. Practise makes it perfect!  Keep looking for good recipes! 
Source:1. The CWA Cookbook - 70 years in the Kitchen
            2. Tarts - sweet and savoury by Maxine Clark

Passionfruit friands


One of the terrible thing about winter is getting the flu, lying in my sick bed for 2 weeks with two courses of anti-botics is nothing I would wish for.  Everyday I just hope that I'll feel better so I could enjoy Good Food, Great Love and have a Good Laugh again.  As we have such as long winter this year, I truly welcome Spring to come in September.

I have got some egg white left from the strawberry vanilla tart I have made previously.  It just fitted perfectly into the recipe of this almond friands.  I actually bake this while making the tart pastry so I end up with two desserts in one cooking day.  I always wonder how it tastes like when I see them at the display window in the cafe.  The reason I never order one as I  would go for something more complicated looking.  After baking and tasting it, I can tell you that friands may look simple but it doesn't taste plain at all.  It is rich in butter and taste heavier than muffins.  I add in some passionfruit as my passionfruit tree has yielded so much fruit this year, thanks to the heavy rainfall we have last summer.

Other than passionfruit, I also have some good harvest of cherry tomatoes, pumpkins and papaya from my garden.  The blueberry trees are blooming with flowers and I am looking for some fruit very soon before my dog eats them.  The pile of cooking magazines I have been buying from the supermarket checkout has been building up and it has some nice recipes of seasons fruit.  What's the point of buying them and not using the recipes?  In August, I'm working on the those magazines for the seasoned fruit.


 Passionfruit Almond Friands

Ingredients:
6 egg whites
185g butter, melted
1 cup almond meal
1 1/3 cups icing sugar
1/2 cup plain flour
2 passionfruits

Method:

  1. Preheat oven to 200c.
  2. Place egg white in a mixer until stiff, fold in butter, almond meal, shifted icing sugar and flour until just combined.  Add in two passionfruit pulps.
  3. Pour mixture into friands pan or cupcake cases, bake 25 minutes.  Dust with icing sugar when the cake is cool.
Source: Australian Women's Weekly - Mix: cakes, muffins, biscuits + pudding